Hello! Little instructive article today on how I went about implementing Crowd Control support in my game Battle Tracks, and how you might be able to do the same. It’s a bit of a mixture about my experience with it, as well as a mini tutorial.
Wait… What’s Crowd Control?
Crowd Control is an incredible tool that can be used by streamers on Twitch, Youtube, Discord, Tiktok, etc. when streaming a game, to allow users to influence the streamers game. By using coins (purchased by the users), they can spend them to cause various effects in the game. This could be creating an explosion, spawning an enemy, killing the player – really, anything you can think of that the game supports. It’s my personal favorite way to watch and interact in a livestream.
You can read on the full list of features here.
Crowd Control and Unity
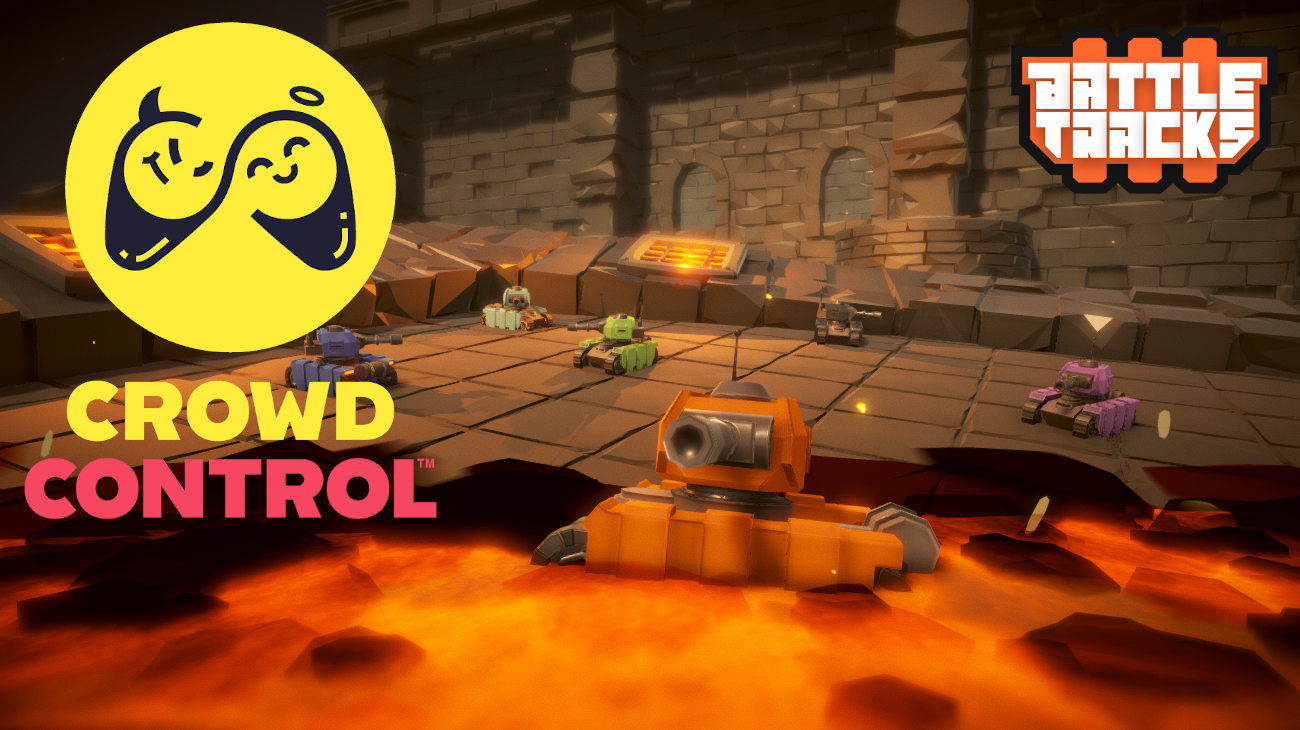
Crowd Control has a few different SDKs and supports a few different things, but in Unity’s case (which is what my game, Battle Tracks, is built in), they provide a Unity package with documentation here.
The Crowd Control team has been incredibly helpful and supportive in adding support to Battle Tracks, with nearly 24/7 support helping to answer questions I had as I went through the process. Thanks to Jaku and KBM for all the help.
Implementing Crowd Control
Once Crowd Control is in the project, it’s not too terribly difficult to setup. It’s quite easy actually. They provide an example scene, under the WarpWorld folder, there’s both a tutorial for you to follow along, and a finished tutorial scene with it all setup.
But at a base level its very easy. You’ll need a Crowd Control Manager object in the scene (for me, that’s a Preload scene that Battle Tracks runs as you start the game, it holds all the vital systems that have to run at the start and always).
This manager has your core settings on it. Most of it is pretty self explanatory. Game key will be a unique key just for your game, along with your game name. From here, you’re really just ready to start adding effects.
Adding Effects
Crowd Control offers fantastic documentation and examples on creating effects. If you’re ever unsure about the specifics, I highly recommend you read through it in more detail. There are three main types of effects, just a simple instant effect, a timed effect, and a parameter effect.
An instant effect (which is really just a simple, normal effect), is just an effect that just happens. It’s as simple as it gets. Examples of this in Battle Tracks include “Force player shoot”, “Kill player”, or “Spawn explosion”, etc.
A timed effect is something that continuously happens over the course of some time period. Battle Tracks examples are “Shrink/Grow Player/Enemies”, “Extra bullet bounces”, or “Tank Seeking Bullets”. During the specified time period (for a lot of Battle Tracks effects thats around 20 seconds), different things will continuously happen, like the player or enemies being a different size, or bullets following tanks, etc.
Finally, a parameter effect is like an instant effect, but with a dropdown of options, or a number associated. So in Battle Tracks this allows you to select a specific hat, or color to change the players tank to, or being able to add/remove a certain number of lives.
All of these effects are pretty easy to add with Crowd Control, they pretty much all follow a similar pattern. For Battle Tracks I actually created a script template that contained all the logic I would need for most of my effects.
Mine for Battle Tracks looked like this, for a basic effect:
using WarpWorld.CrowdControl;

public class #SCRIPTNAME#: CCEffect
{
	protected override EffectResult OnTriggerEffect(CCEffectInstance effectInstance)
	{
		return EffectResult.Success;
	}

	public override bool CanBeRan()
	{
		return !ServiceLocator.Get<IGameStateService>().InGameState(
			       GameState.Loading,
			       GameState.LevelEditor,
			       GameState.PauseMenu,
			       GameState.MainMenu,
			       GameState.LevelComplete,
			       GameState.InstanceRoomTransitioning,
			       GameState.GameMenuOpen
		       );
	}
}
And for a timed effect
using WarpWorld.CrowdControl;

public class #SCRIPTNAME#: CCEffectTimed
{
    public static bool Active = false;
    private bool InOkayGameState()
    {
        return !ServiceLocator.Get<IGameStateService>().InGameState(
            GameState.Loading,
            GameState.LevelEditor,
            GameState.PauseMenu,
            GameState.MainMenu,
            GameState.LevelComplete,
            GameState.InstanceRoomTransitioning,
            GameState.GameMenuOpen
        );
    }

    protected override EffectResult OnStartEffect(CCEffectInstanceTimed effectInstance)
    {
        Active = true;

        return EffectResult.Success;
    }

    protected override bool RunningCondition()
    {
        return InOkayGameState();
    }

    public override bool CanBeRan()
    {
        return InOkayGameState();
    }

    protected override bool OnStopEffect(CCEffectInstanceTimed effectInstance, bool force)
    {
        Active = false;

        return true;
    }

    protected override void OnPauseEffect()
    {
        #NOTRIM#
    }

    protected override void OnResumeEffect()
    {
        Active = true;
    }

    protected override void OnResetEffect()
    {
        #NOTRIM#
    }
}
I didn’t actually need one for parameter effects, but that’s only because I had like 4 effects use them out of my total around 70 or so. It should also be noted that parameter effects cannot be pooled (Crowd Controls system where multiple people can all chip in to crowd fund one effect).
But ultimately, all of this was pretty simple. How exactly you cause each effect to happen will vary based on your specific code for your game. I can go through a few examples of how I did it, using my own systems and effects.
Instant Effect Example
Starting with something simple, an instant effect that kills the player. First, for each effect you need to define when the effect can actually be ran. You can’t kill the player if you’re in a loading screen, or some menu where no players exist – or even, consider what the fun of killing the player would be if you’re in a menu anyway?
So you override the CanBeRan() function, which simply returns a bool on whether it can be ran or not. For Battle Tracks, it does a ton of checks on what your game state is, what scene you’re in, etc. so that you can only try to kill the player if you’re in a spot that makes sense. I don’t even allow you to kill the player in the overworld. Partially because it would break the game, but also because it just wouldn’t be fun. There’s no stakes to killing the player there.
Then, you just need to using the override function for OnTriggerEffect. It returns an EffectResult, and has a parameter of a CCEffectInstance. This is basically what happens when its finally triggered. But there still might be a scenario where the effect may not work, thats what the return value accounts for.
So in Battle Tracks case, I do this:
protected override EffectResult OnTriggerEffect(CCEffectInstance effectInstance)
{
	var playerService = ServiceLocator.Get<IPlayerService>();
	var players = playerService.GetAllActivePlayers();
	for (int i = players.Count - 1; i >= 0; i--)
	{
		if (players[i].Dead)
		{
			players.RemoveAt(i);
		}
	}
	if (players.Count > 0)
	{
		switch (SettingsDataHandler.Instance.Settings.livestreamSettings.GetMultiplayerMode())
		{
			case CCMultiplayerMode.EffectsOnlyHitYou:
				bool anyKilled = false;
				for (int i = 0; i < players.Count; i++)
				{
					if (players[i].GameObjectEnabled && players[i].IsLocalPlayer)
					{
						players[i].Kill(effectInstance.user.name + " deciding you must die (Crowd Control)");
						anyKilled = true;
					}
				}
				if (!anyKilled)
				{
					return EffectResult.Retry;
				}
				break;
			case CCMultiplayerMode.EffectsHitEveryone:
				for (int i = 0; i < players.Count; i++)
				{
					players[i].Kill(effectInstance.user.name + " deciding you must die (Crowd Control)");
				}
				break;
			case CCMultiplayerMode.EffectsHitRandom:
				players[Random.Range(0, players.Count)].Kill(effectInstance.user.name + " deciding you must die (Crowd Control)");
				break;
		}
		return EffectResult.Success;
	}
	else
	{
		return EffectResult.Retry;
	}
}
Going through this quickly, I basically check if there are any living players, it’s possible this effect still got triggered, but all the players happen to be dead – so if thats the case, I return return EffectResult.Retry;, this tells Crowd Control that we’re not ready now, but to check back in like 5 seconds to see if its ready again.
But otherwise I do a few checks based on some multiplayer settings I have. At a simple level, I find the players that need to be exploded, and then it explodes them. If theres an issue, it returns retry, otherwise it returns success, and Crowd Control registers that!
There’s another option as well, for EffectResult.Failure, for if this effect really shouldnt be running at all. One example for Battle Tracks is when giving/removing lives – not all the difficulties even have lives, so if you’re playing the game without lives, I just return a failure message, that will let Crowd Control know the effect didnt go off, and it shouldn’t retry, and it’ll just refund the user.
Timed Effect Example
Timed effects tend to be a little different. They run over a period, they can be started, stopped, or event paused. They have the CanBeRun() override that works the same, but then also have a RunningCondition() override. This checks that if while the game is running, if the effect should pause or not. This is great to use when in menus, so that when a streamer pauses the game, the effect doesn’t get wasted. It can also just be useful in a variety of places, so that the user gets the best effect for their coins spent. I often pause most effects when players are in the Overworld, as there’s no point for a player to have invulnerability, if nothing can affect them anyway.
Then there are overrides for OnStopEffect, OnPauseEffect, OnResumeEffect, OnResetEffect, and OnStartEffect. All of these can be used to track the current state of the effect.
What I did personally for most of these was a simple active bool. It was originally a public static bool on each effect, though that eventually got moved into Battle Track’s services system, though they essentially work the same. A global way to tell if an effect is active. Then, in the sections that matter, I check if that effect is active.
So when the player is checking if they should be killed, I check if ServiceLocator.Get<ICrowdControlService>().IsActive(CrowdControlEffect.PlayerInvulnerability), if so, they don’t die. This happens everywhere, when the bullets check how many bounces they have left, I check if extreme bullet bounces or one more bounce is active, and if so I change the amount of bounces they have.
There are lots of ways you could go about this. Crowd Control provides overrides for all the different times effects are started and stopped, so you could go about this another way than using global variables like this.
Parameter Effect Example
Parameter effects work largely the same as instant effects, however their OnTriggerEffect takes in a CCEffectInstanceParameters, this allows you to get your info on what effect was activated.
If you effect is text, you can use effectInstance.GetParameter, for numbers effectInstance.GetQuantity. These will return either a string for the parameter chosen, or a number for the quantity. Battle Tracks uses effectInstance.GetParameter("Hat") for the hats, and (int)effectInstance.GetQuantity("Amount to Gain") for the health.
Setting Up Effects
With that said, once you have your effects made, you just need to add them into your scene. I added all of mine as children underneath my manager prefab, organized in subobjects based on the effect types.
After adding the effect script you made to an object, you’ll have lots of settings. You can enter the name of the effect, the description, price, etc. You’ll need an image for your effects too.
Some things to note. There are options for max retries and retry delay. If your effect ever can’t be triggered (either because CanBeRun() returns false, or OnTriggerEffect returns Retry), then this will determine how much it keeps trying until it gives up. The delay is the time in seconds between each reattempt, and the max is how many times it’ll actually try.
Timed effects also have the time that they’ll run for. Keep in mind not only how long they run, but also how often an effect might pause. In Battle Tracks, effects pause frequently because each round is so short. You may die in 5 seconds and go through the intro and such again. So 30 seconds may actually last closer to a minute in game, in my case.
You can also set your effects into categories. I have many of my separated based on things that spawn, or things pertaining to bullets, vs the player, etc.
Parameter effects will have sections to name the parameters, and add the options.
Once all of those effects are added onto objects, Crowd Control will automatically detect them, and you’re good to go.
Testing and UI
Once you have your effects made (or are ready to test them) you can just launch the game. Assuming you’re using the default Crowd Control made manager prefab, it’ll have some default UI. You can hit connect, it’ll ask you to login with a given platform, and then you’ll be connected. You should have a button “Online Effect Menu” to open your link that will let you test your effects.
Crowd Control themselves has a much more thorough guide here.
However, if you seek to do your own custom UI, there is some more you can get involved with. By default it gives you options for a very simple and basic display of effects, but after working with the developers, a lot more support was added to get more complex functionality.
All of the different components making up the UI (Log, Buff, Queue, and Message) all can be overridden, and have many virtual functions and options that allow you to customize just about everything. Not to mention, when I was working with the team on Battle Tracks, they were super supportive and quick to add new support to anything I needed in this area.
You could change all of this based on how it suits your game. For Battle Tracks I kept it very similar to the default, but with my own custom art and display, along with condensing some other parts. I also added a menu option that allows you to hide the overlay entirely.
At this point, most of your work is done. The bulk of the work is just handling all the different effects.
Extra Utility
There were some small tools I made during the process of adding support to Battle Tracks that was super helpful! Here are a few things you may also find useful.
CC Mass Effect Data Setter
This was something I put on the same object as my manager, and it let me set the max retries and retry delay for ALL the effects under it. With Battle Tracks having 70 or so effects, this was very helpful to me.
public class CCMassEffectDataSetter : MonoBehaviour
{
	[SerializeField]
	private int maxRetries = 10;

	[SerializeField]
	private float retryDelay = 5;

	private CCEffectBase[] effects;
	private void OnValidate()
	{
		effects = GetComponentsInChildren<CCEffectBase>(true);

		for (int i = 0; i < effects.Length; i++)
		{
			effects[i].maxRetries = maxRetries;
			effects[i].retryDelay = retryDelay;
		}
	}
}
CC Effect Tester
This was my little utility script that I used for testing various effects without using the crowd control website, or for testing a simulation of how it might feel for a crowd to be playing the game. It will go through all the effects available, and do a weighted random pull from the effects (based on price) and run them every so often.
This was super helpful for figuring out how effects feel while playing.
public class CCEffectTester : MonoBehaviour
{
	#if UNITY_EDITOR
	[SerializeField]
	private bool run = true;

	private CCEffectBase[] effects;
	private float timer = 0;

	private void Awake()
	{
		effects = FindObjectsOfType<CCEffectBase>();
		SetTimer();
	}

	private void SetTimer()
	{
		timer = Random.Range(0, 3) == 0 ? Random.Range(5, 10) : Random.Range(12, 17);
	}

	private CCEffectBase GetRandomEffect()
	{
		int totalCost = (int)effects.Sum(e => e.price);

		// Select a random 'ticket'
		int ticket = Random.Range(0, totalCost);

		// Iterate over the effects
		foreach (CCEffectBase effect in effects)
		{
			// Subtract the cost of the effect from the ticket
			ticket -= (int)effect.price;

			// If the ticket number is less than or equal to zero, return the effect
			if (ticket <= 0)
				return effect;
		}

		// This point should not be reached if the effects' cost is correctly configured
		throw new Exception("No effect was selected. Check the configuration of your effects' cost.");
	}

	private void Update()
	{
		if (!CrowdControl.instance.isConnected || !run)
		{
			return;
		}

		timer -= Time.deltaTime;
		if (timer <= 0)
		{
			SetTimer();
			CrowdControl.instance.TestEffect(GetRandomEffect());
		}
	}
	#endif
}

#if UNITY_EDITOR

[CustomEditor(typeof(CCEffectTester))]
public class CCEffectTesterEditor : Editor
{
	private int selected = 0;
	public override void OnInspectorGUI()
	{
		base.OnInspectorGUI();

		var effects = FindObjectsOfType<CCEffectBase>();
		List<string> effectNames = new List<string>();
		for (int i = 0; i < effects.Length; i++)
		{
			effectNames.Add(effects[i].displayName);
		}

		effectNames.Sort();

		GUILayout.Label("Effect Count: " + effects.Length);
		selected = EditorGUILayout.Popup(selected, effectNames.ToArray());

		if (GUILayout.Button("Trigger Effect"))
		{
			CrowdControl.instance.TestEffect(effects.First(x => x.displayName == effectNames[selected]));
		}
	}
}
#endif
CC Mass Category Setter
I used this so I could set the categories on everything under a given object to the same thing.
public class CCMassCategorySetter : MonoBehaviour
{
	[SerializeField]
	private string[] categories;
	private void OnValidate()
	{
		var effects = GetComponentsInChildren<CCEffectBase>();
		for (int i = 0; i < effects.Length; i++)
		{
			effects[i].Categories = categories;
		}
	}
}
Conclusion
I hope this was an interesting or informative read. I had a great time adding Crowd Control support to Battle Tracks, and the development team has been incredibly helpful in the process too!
0 comments on “Implementing Crowd Control in Battle Tracks”Add yours →